
Out of all the Microsoft Office programs, Excel is probably the most complicated. However, once you’ve grasped it, the software can prove to be very beneficial in terms of creating spreadsheets and managing data. To help you familiarise yourself with Microsoft Excel, we’ve provided five easy steps on how to use it more effectively.
1. Carry out basic math
Most people use Excel spreadsheets to record data but did you know that you can also use the program to make calculations? Using basic math functions, you can manipulate the numbers in your spreadsheets to get the calculations you need.
Simple calculations can be entered into Excel’s formula bar. You just need to make sure you start all calculations with the ‘=’ sign. Once you’ve typed in the calculation you want to perform and included the cells (you can do this by highlighting them with your mouse), simply press ‘Enter’ and you’ll get your answer in the cell. You will need to use the following to complete your calculations:
• + for addition
• - for subtraction
• * for multiplication
• / for division
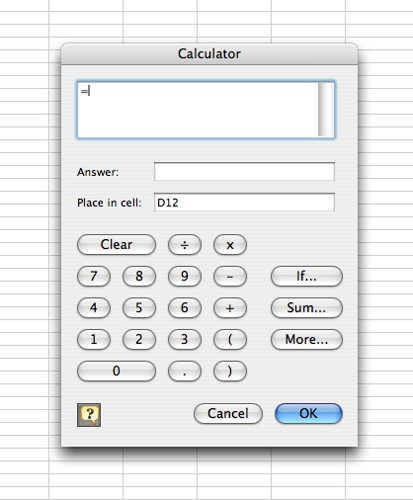 Are numbers not your strong suit? Let Excel do your calculations for you.
2. Sort and filter your spreadsheet data
You can use Excel spreadsheets to help you sort and organise large amounts of data. Find what you need by reordering the data and picking out certain bits of information by creating parameters in Excel. Sorting and filtering your data will save you so much time and make your spreadsheets far more effective.
Say for example, you have a list of hundreds of employee records featuring names, dates, salaries and more. By using Excel’s sort and filter features, you can quickly organise the data to suit your needs. You can either do it a column at a time or simultaneously.
3. Make your own templates
If you can’t find a ready-made template in Excel to meet your needs, you can simply create your own using sample workbooks that you have previously made. The easiest way to create your own template is to create a workbook prototype and then save it using the template file format (x.ltx). You will then be able to open this file from the ‘Templates’ folder in Excel to create the new workbooks you require.
The first thing you need to do is create an Excel workbook that contains all of the elements you will need for the template file e.g. text, data, formulas, formatting etc. Then click ‘Save As’ and type the name for the template in the box. Before you press save, go to the drop down list and select Excel Template, this will be the extension (*.xltx). If you are using macros in your template you’ll need to select the (*.xltm) extension instead.
4. Create charts
Did you know that you could create charts from your spreadsheet data in Excel? Charts are great for illustrating key bits of information in a clear and concise way.
All you need to do is highlight all the data you want to feature in the chart and then go to Insert > Chart. You will then be able to specify the type of chart you want to create.
5. Make your own auto-fills
If you’ve been using Excel a while, you probably already know about its auto-fill feature, which can be used to fill in cells automatically. For example, you can write Monday in the first cell, drag it across and Tuesday, Wednesday, Thursday etc. will appear in the next cells.
If you find that creating spreadsheets often involves typing your company products or another piece of information over and over again, you may find it useful to create your own auto-fills. To do this, simply go to Menu > Tools > Options > Custom Lists. From there, you will be able to add your own list of auto-fill words. Using auto-fills can save you a significant amount of time and make producing spreadsheets more efficient.
Conclusion
We hope you’ve found these five tips useful! If you have any questions about how to get the most out of Microsoft Excel, please don’t hesitate to get in touch.
Image source: https://farm9.staticflickr.com/8490/8206085512_12c122ca2e.jpg
Image source: https://farm2.staticflickr.com/1137/592552643_3a31f2e581.jpg
Image credits: AJC and Gustavo du Cunha Pimenta


